Blog
How To Make a Tiny Patch Pincushion
Hi!
As we’re nearing the end of the month, I thought it was time for another technique-based quick pattern, and today’s is based around how to make a pincushion, from a bunch of tiny 1 inch squares. Now before you dismiss this as being waaayyyyy too fiddly, this easy technique makes it so much quicker and easier, and it’s worth reading through, and giving it a try.
This is a simple square pincushion, and is perfect for using up a bunch of scraps (whether they’re coordinated or not), and it’s a great way to practice this technique without taking on a whole pixellated quilt project first!
How to Make a Pincushion (the fusible interfacing way)
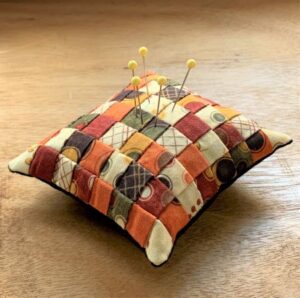
Our pincushion is about 3½ inches square and 1½ inches high.
You will need:
We used left over fall-coloured fabric scraps for ours
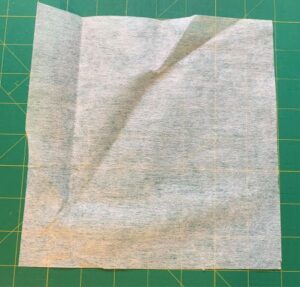
8 x 8 inch square of lightweight fusible interfacing
Piece of fabric approx. 5 inches square for the backing
Stuffing for the pincushion – Use Hobby Fill, or even left over batting if you can cut it small and fluff it up a bit.
Needle and matching thread
We made this pincushion to fit an 8 x 8 grid of 1 inch squares, so you will need to cut a total of 64, 1-inch squares from your fabric scraps.
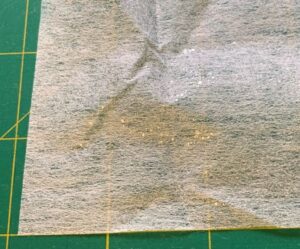
Lay your interfacing with fusible side up (you can see the little shiny glue dots), and you may find it easier to lay it on your cutting board inch grid, to help you place the fabric squares.
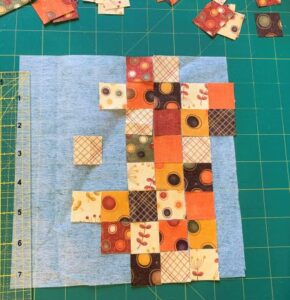
Place your fabric squares on top, lined up neatly so the edges touch, as shown.
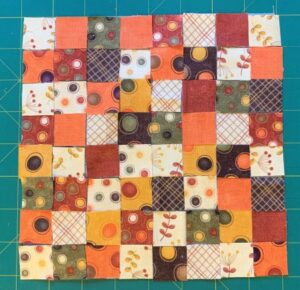
When you are happy with the arrangement, carefully transfer to your ironing board and press well to fuse the fabric to the fusible interfacing.
With all your pieces safely stuck down, now you just need to sew them!
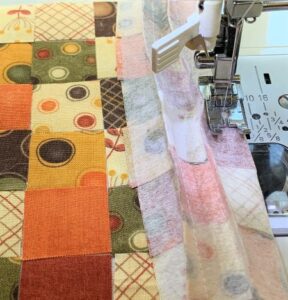
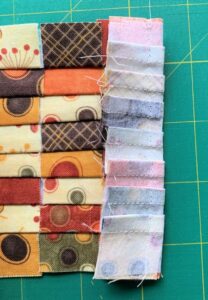
Starting at one edge, fold along the line between the first and second rows of squares and sew through all thicknesses with a ¼ inch seam.
Fold the next row, and so on, until you have sewn all the rows in one direction.
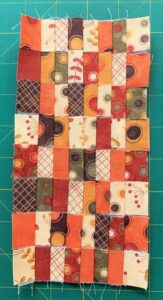
Your pincushion with the rows sewn in one direction.
Press.
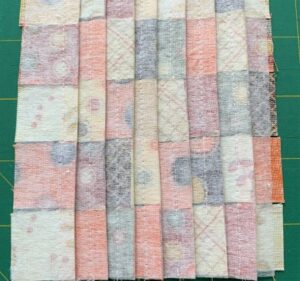
The back – showing the stitching and interfacing left in.
Now repeat to sew in the other direction.
Fold on the line between rows one and two, and sew through all thicknesses with a 1/4 inch seam.
Continue for all rows.
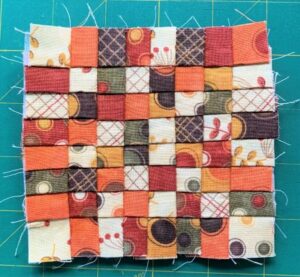
Your finished pieced pincushion top.
Whilst this technique makes piecing small squares super easy, it does add some bulk. It’s fine for a pincushion, but you would need to decide if it would suit a quilted project. (A wall hanging would benefit from the added structure, but a bed quilt would be stiff, unless you used larger size squares of fabric.)
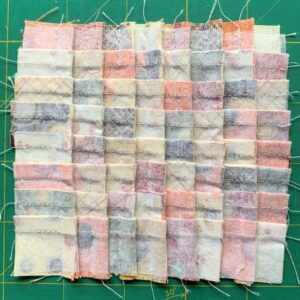
The wrong side.
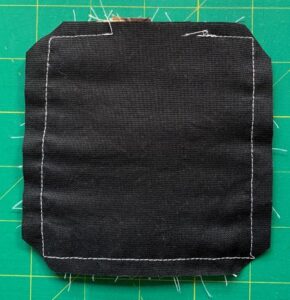
Our pieced side measured 4½ inches square, so we cut a 4½ inch square backing for the pincushion.
With right sides together sew the backing to the top with a ¼ inch seam, leaving a gap to turn it right sides out.
Trim the excess off the corners, and turn right sides out.
Fill with your stuffing and tuck in the seam allowances at the gap before hand stitching the gap closed with matching thread to finish.
And there you have it – a quick and easy way to turn those itty bitty squares into something pretty and functional, without the headache of trying to piece them all separately.
I do hope you’ve enjoyed this tutorial on how to make a pincushion, and that you can find some time to give it a go this week.
I’d love to hear what you think, so please share a comment below and let me know how you go!
Enjoy!
