Blog
Tips for Needle Turn Applique Success
Hi!
It’s been a wet and windy week here, and that made it perfect for some quiet hand stitching, and I thought it time to share Lenna Green’s tips for needle turn applique success, in case you needed a refresher.
As Lenna says:
“Learning how to needle turn applique can open up a whole new world of sewing possibilities. Hand applique is one of my favourite techniques and I’m sure you will love this technique too once you learn some helpful tips.
My first tip is to use the correct tools for the job. Just as a carpenter would not use a chisel to secure a screw, it is important to use the right needle, thread and stitch for the job at hand to achieve a professional finish.
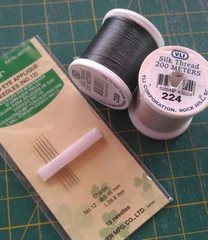
Before trying your hand at needle turn applique, locate a packet of number 9-10 applique needles. You will notice that they are very fine and have a small eye.
Also purchase a reel of Silk YLI thread. It comes in a number of different shades, although a base grey will work for most projects. Silk thread is very fine and your stitches will not be visible to the eye.
You will also need freezer paper which can be bought from most good craft supply stores. Freezer paper has a dull side and a shiny side which is coated with an adhesive that reacts when heat is applied. Unlike fusible applique paper, freezer paper can be peeled off and reused again and again.
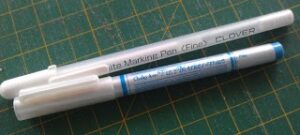
A small, sharp pair of scissors is also recommended for needle turn applique, and a water soluble marker pen. These come in a variety of colours. The one you use will depend on your fabric colours. It is also important that you choose one that has a fine tip, as a thick marker can make your templates bigger than required.
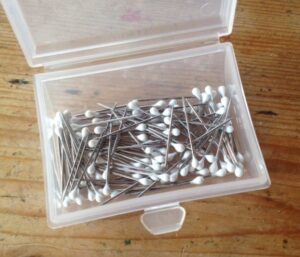
Small applique pins are also a wise investment – although not essential, they will make the process easier especially if appliqueing small shapes.
Now that you have the recommended tools, you are ready to begin.
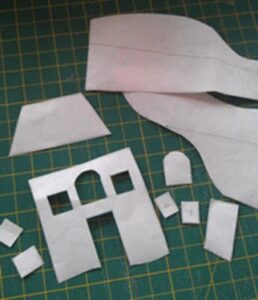
- Trace each applique shape accurately onto the dull side of the freezer paper and label each template as indicated on the pattern. Cut out each template on the drawn line. These shapes are the actual size.
- Use a warm, dry iron to secure each shape onto the right side of your chosen fabrics. Position the shapes at least a ½ inch apart and place them across the grain rather than running with it. This will prevent the fabric edge from fraying and becoming furry.
- Use the fine tipped water soluble marker to draw around the edge of each template. Cut out each shape with a scant 1/8 inch seam allowance. If you have a lot of shapes, I recommend storing them together in groups using small zip locked plastic bags. This will also prevent your edges from getting tatty. I cut each shape out as needed.
- Trace your applique design onto the right side of your chosen fabric using the water soluble marker pen.
Follow the order of work as given in the pattern.
Remove the freezer paper from shape number 1, and pin onto the corresponding section of your design, aligning the drawn line of your design with the drawn line of your shape. Use an applique pin to hold in place.
Use an applique needle and silk thread to work a small invisible Blind Hemming stitch. Before commencing use a large knot. Push the seam allowance under with your needle so that the line below is visible, then pass the needle up from the back of your work coming up on the edge of the fold.
Pass the needle back down again in almost the same place and come up again into the fold, moving along the fold by approximately 1/8 inch. Repeat this process until the shape is completed.
Remove any markings by dabbing with cold water. Do not press the applique when complete as this will flatten your work.
For a good ‘how to’ video demonstration, please watch my video on how to work corners when needle turn appliqueing.
It’s short and sweet this week, but if you find yourself with a few minutes to spare, give this a try, and see what you can create.
Enjoy your week!
