Scrappy Snacks: Bite Sized Applique - A Review - Quilt Pattern Library
Blog
Scrappy Snacks: Bite Sized Applique – A Review
Hi!
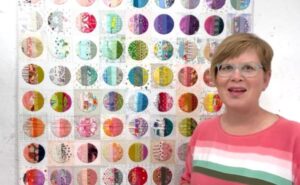
It’s time for another class review this week, and I know you’re going to love Timna Tarr’s “Scrappy Snacks: Bite Sized Applique” class on the Creative Spark Class platform just as much as I did. You may have seen Timna’s distinctive scrappy circles quilts online, and in this quick and easy to follow class, she shares exactly how she makes them, so you can have a go at making your own.
There’s a handy downloadable and printable “How To” guide as well, so work your way through the videos, and when you understand her technique, you can always refer back to the handout later.
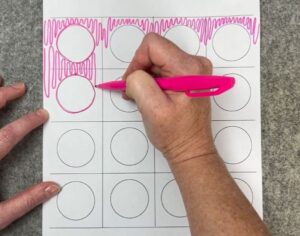
I must admit – I’d always wondered how Timna’s circles were always so perfect – especially when they were scrappy pieced, and it turns out the answer is coffee filters!!???
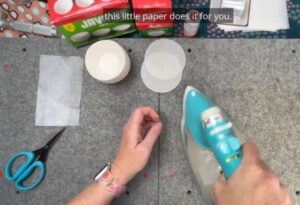
Timna shares her tricks for using these ready-made templates for foundation paper piecing, and her demonstration and tips for using these opened up a world of possibilities for me to think about.
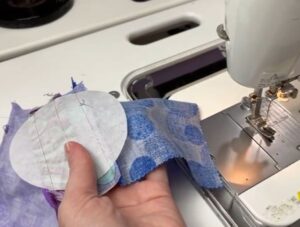
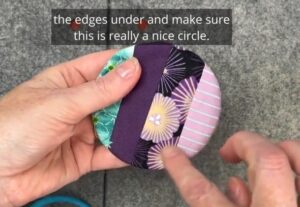
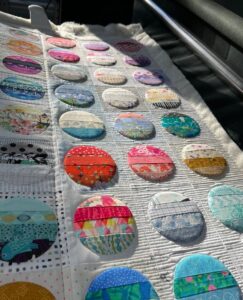
Once the circle is improv string pieced and prepped for applique, you can tear away the paper easily –
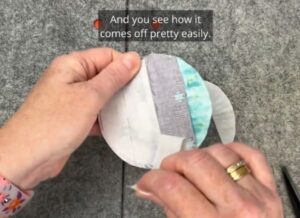
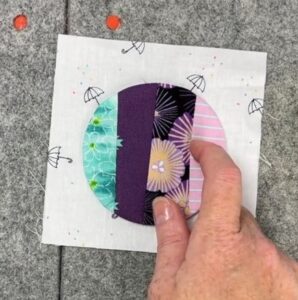
…and then finish your circle ready for appliqueing.
And doesn’t it look cute on that low volume background!
Once you’ve made one, you can make as many as you’d like, and Timna explains one is ‘bite size’, a few is ‘snack size’ and a whole bunch more is ‘meal sized’ for a whole quilt.
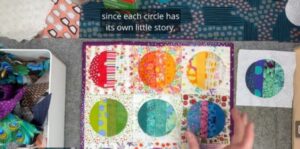
With the “how to’s” covered, Timna continued to explain some of her tips and theories for color choices, and how to lay them out to tell a ‘color story’.
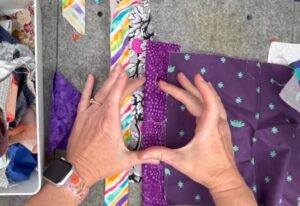
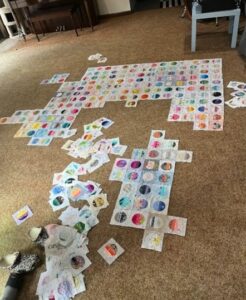
There’s some practical demos of how to pull scrappy fabrics together to make the circles, and I loved the real life photos at the end of laying out a big quilt. It was great to see her quilt laid out on the living room floor in pieces, as many of us do with our quilts!!
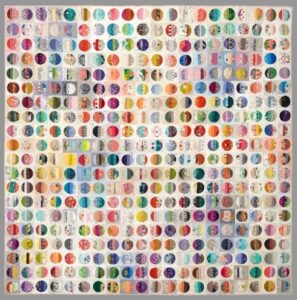
And the finished quilt!
I really appreciated that Timna also shared her tips for quilting these style of quilts too. Making the circles puff up gives a great texture to these quilts, and she demonstrated how to quilt without many thread breaks, and this is something you could quilt on your domestic machine at home too.
One of her quilts on the longarm machine. Look at those circles pop!
My Turn:
I couldn’t resist having a play with this technique as soon as I’d finished the class – it seemed like too much fun to not give it a go.
I did have plenty of scraps, but no coffee filters, so I made do with some cupcake papers.
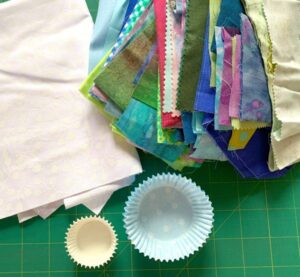
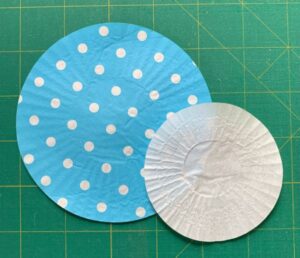
When I ironed them flat, the regular sized cupcake paper was too large for what I wanted, but the mini size was perfect.
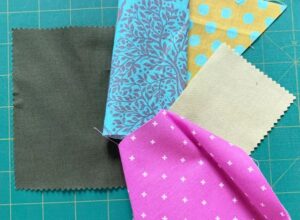
Fabrics were chosen, and I set to work.
And I have to say – I loved the result. This is fun and certainly very repeatable. No getting bored making circles here!!
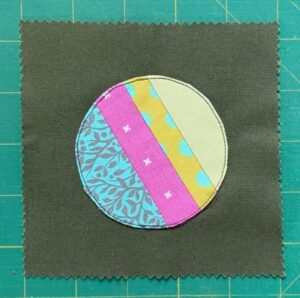
I appliqued mine onto a scrap 5 inch charm square, then quilted and bound it to finish.

This is the perfect size for a coaster or mug rug, and will now be in pride of place on my desk!
What can I say – I loved this quick class, and I can definitely see a bunch more circles in my future…
I am delighted too, to let you know that I have one free “Scrappy Snacks: Bite Sized Applique” class to give away to a lucky reader this month, courtesy of Timna Tarr and Creative Spark.
To be in the running to win this class, please leave me a comment below about what you’d like to make with these fun circles, and I’ll draw a name at random next Tuesday afternoon (the 27th May), from those who leave a comment.
Good luck, and enjoy your week,

18 Comments
Leave a Reply

Welcome to our Quilt Pattern Library Blog
Read through to discover Hints and Tips, How To’s, Patterns and more!
Please enter your email address in the box below to receive notification of new posts by email.
I love the little circles
I found this really interesting – could be because my current landscape feautures lots of circles. Looks like it would be a great way to use some pretty scraps.
love the look of these! And thanks for the idea of using up the mini cupcake cases – very thrifty and good recycling!!!!
I’d love to do the class, thanks for the offer.
I am confused. Are the edges turned under, or are the raw edge appliqué?
Hers look turned under, but I don’t understand how she did it and still keep a perfect circle.
Thanks
Her edges are turned under, using the method with fusible interfacing. This helps keep those curves perfect when you turn it right sides out. Then they’re appliqued onto the background square.
I would like to make a wall size quilt with this fun applique scrappy technique.
Sure looks like fun. Can’t wait to try it.
I would put 4 together to a fun pillow!
I’ve seen this quilt displayed at a large quilt show. It was fabulous! It would be fun make one of my own.
Using the coffee filters or even the cupcake paper liners is a good way to get a circle and it seems easy. I would probably make a pillow or form them into a large circle and try to make a sun (adding embroidery for the rays)
I think it might be fun to try.a table runner!
I would love to make a large quilt with this technique. I have loved circles on quilts and I have a new home with lots of vacant walls just waiting for a quilt like this!
I wouldn’t mind to try a baby size quilt because I have so many scraps.This looks like a real fun project
Great way to achieve symmetrical circles – I envisage lots of views through each circular window.
I’d love to make a ‘runner’ for my sofa to cover up the pulled threads left by my naughty kitties.
lovely idea
I can see this as a way to honor our Veterans with patriotic prints for Quilts of Valor.
I like the quilt, but I think I would like to start with a smaller sample to try it. Maybe placemats.